Characters
In this tutorial, we’ll create a new character with custom animations. We’ll also go through spawning the character into the map and making them walk around!
Adding a Character
From the last tutorial, we created a map. Now, we can add a new character into it. Characters in Pixel Stories are called Actors. We’ll create them under the Game assets tab.
New Actor
First, let’s create an actor with no animation sprite and add it to the map.
- Navigate to
Game assets > Actors. - Click
Add actor. - Name the actor “Joseph.”
Leave the rest of the settings as is for now.
With this spriteless actor, we can add it into the map with a Spawn actor event.
- Navigate to
Maps > Map 1 > Eventsat theMap eventssection. - Click
+ Eventand add theSpawn actorevent. - In the event configuration:
- Select the actor to spawn as
Joseph. - Set the spawn position in the map.
- Select the actor to spawn as
- Navigate to
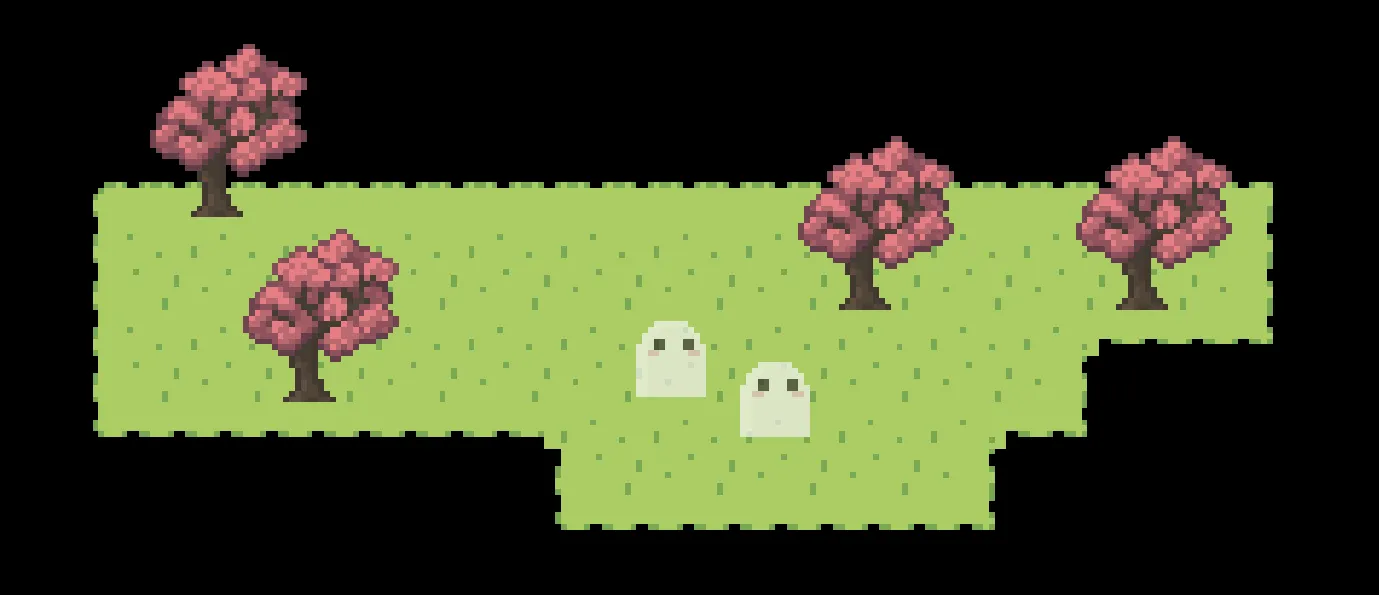
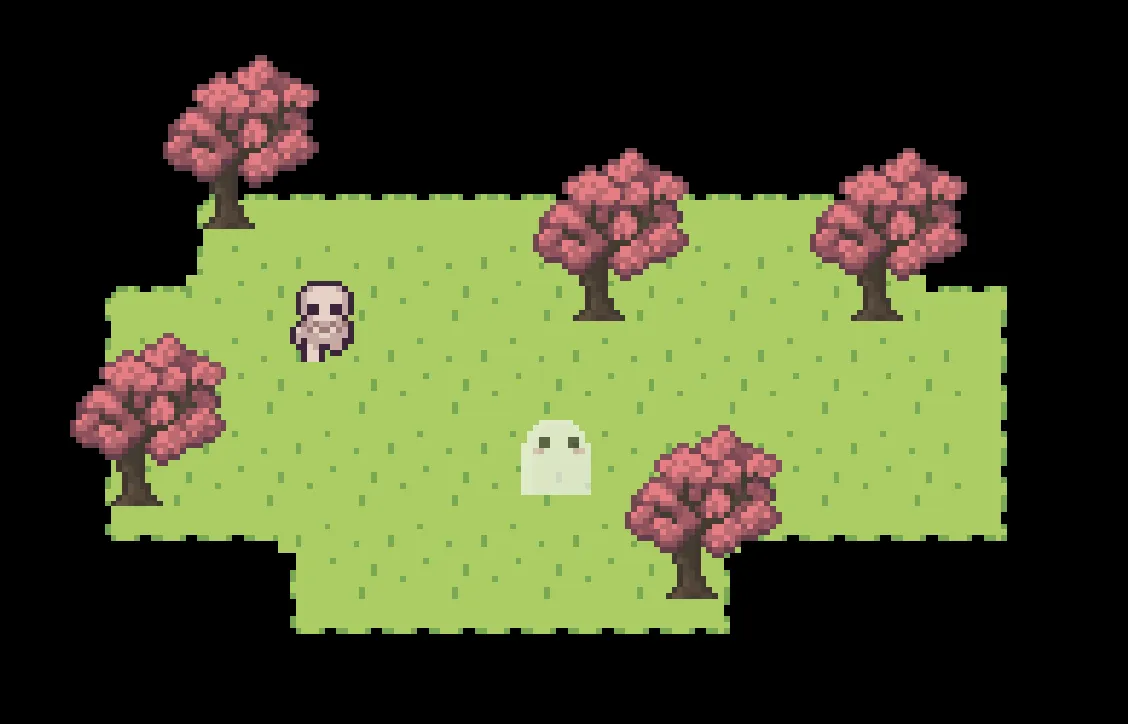
Play testand we should see the actor spawned in the map.
The new character we spawned in will not have any animation sprites, so we see it with a ghost body.
Adding Actor Animations
To add an animation for the character, we will go back to the actor settings. In the actor, we’ll find the walking animation set as well as the animations for that character. The walking animation set is the animations that play when the actor move around.
- Navigate to
Game assets > Actors > Joseph. - In the animations section, click
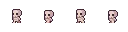
Add animation. - Upload the following animation sprite and name the animation “Walk left.”
- In the animation settings:
- Set frame width as
32px - Set frame height as
32px - Set frame rate as
6
- Set frame width as
- Repeat the steps to add an animation for the following:
Use theCopy settingsbutton to copy the animation settings and paste for the other animations
Walk right: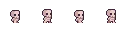

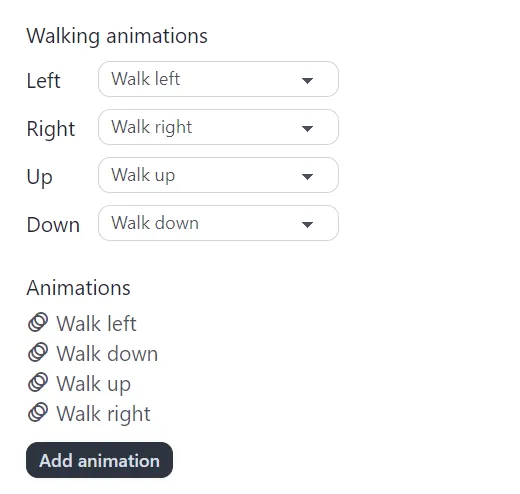
- Don’t forget! In the actor’s
walking animation set, select the corresponding animations for each direction.
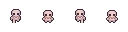
The final actor animations should look like this:
Head over to Play test and we’ll see that the character now has the skeleton animations. But since it’s not moving, we won’t be able to see how the walking animations look. Let’s make the character move in the next section.
Making the Character Move
To see the animations take place, let’s make our new character walk around.
- Navigate to
Maps > Map 1 > Events. - Click
+ Eventand add theMove actorevent. - In the event configuration:
- Select the actor to move as
Joseph. - Click
Set move pathand click in map to set the movement path.
Note: currently, you can’t see the initial position of the actor. It will be added in the next release!
- Select the actor to move as
- Navigate to
Play testand we should see the actor spawned in the map.
Keep in mind, you can only select an actor to move once they have been spawned in the map with Spawn actor event.