Drawing the Map
In this tutorial, we’ll create our first map. You can find the assets we use below:
Download the tutorial assets here.
Adding a Map
Right now our game is blank because it doesn’t have any maps. Let’s add our first map.
New Map
- Navigate to
Mapstab. - Click
Add mapto create a new map. - Name the map “Map 1.”
We can leave the map’s tile size to be 16px by 16px.
Terrains
To draw into the map, we first have to add a terrain. A terrain is an auto-tileset generated by a source tileset. We’ll be adding the source tileset below.
-
Navigate to
Edit map > Edit terrainssection. -
Click
+ New terrainto add a new terrain. -
Upload the following asset.

Right click image to copy or save it from browser.
You should see a preview for the terrain. That’s how it will look when used in the map. -
Add the terrain.
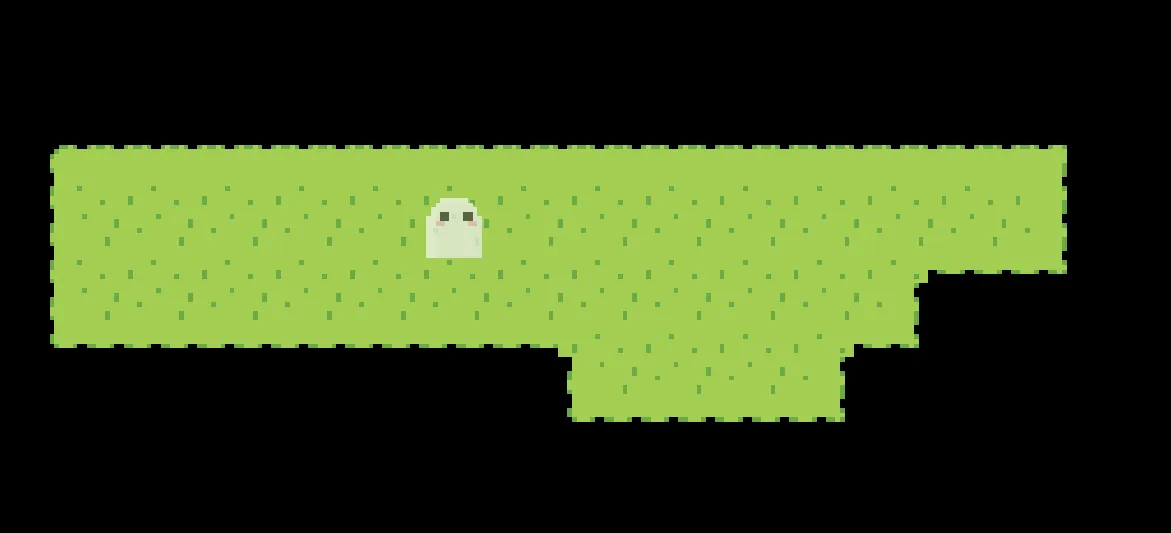
To draw into the map, select the terrain and click in map to draw. We can use the editing tools in the tool bar on top of the game window to pan, draw, and erase.

Map Objects
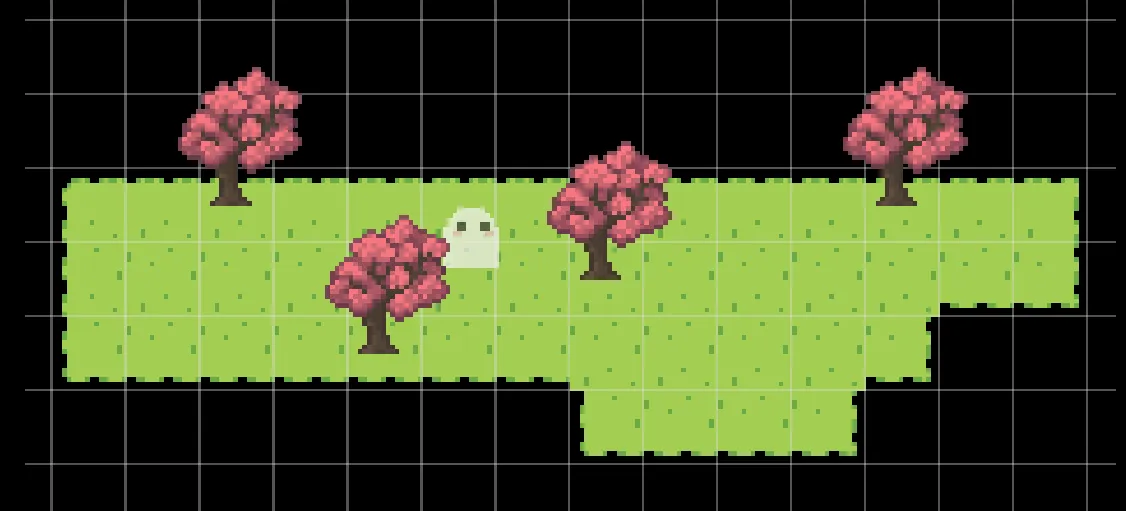
Our map feels rather empty now… With just some land and no trees. Let’s add in some trees!
- Navigate to
Edit map > Edit objectssection. - Click
+ New object. - Upload the following tree sprite asset.

- Add the object.
To place the object in the map, select the object and use the drawing tool to place into the map. If we want to erase an object, we can use the erase tool.

Now we can try testing the game. Navigate to the Play test tab. Click into the game and you can use the arrow or WASD keys to walk around. The ghost in the screen you see is the player character.
Map Collisions
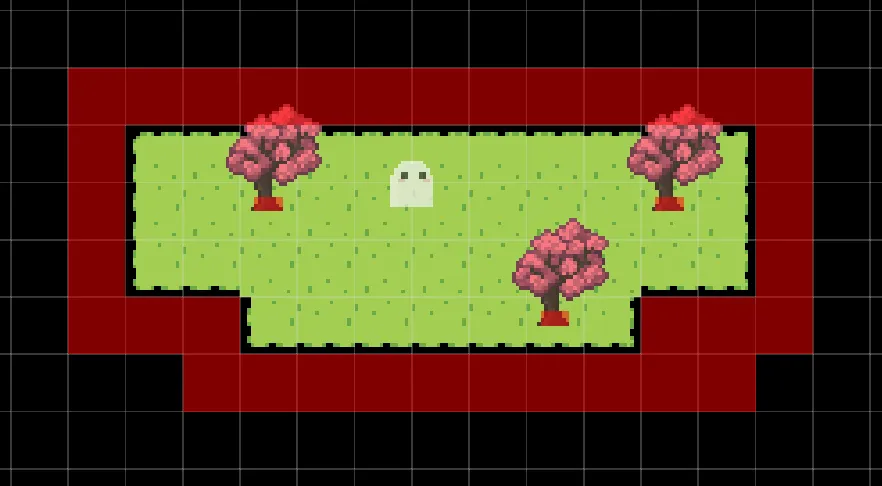
You’ll find that the play can walk anywhere in the game, include outside of the terrain we drew. To keep our player in the map, we must add some collisions.
- Navigate to
Edit map > Edit collisionssection. - Select the
16pxcollision box. - Draw an outline around your map.
- Add
4pxcollision boxes on the base of trees.
Head over to play test, and we’ll see our player is bound by the collisions we created!
